


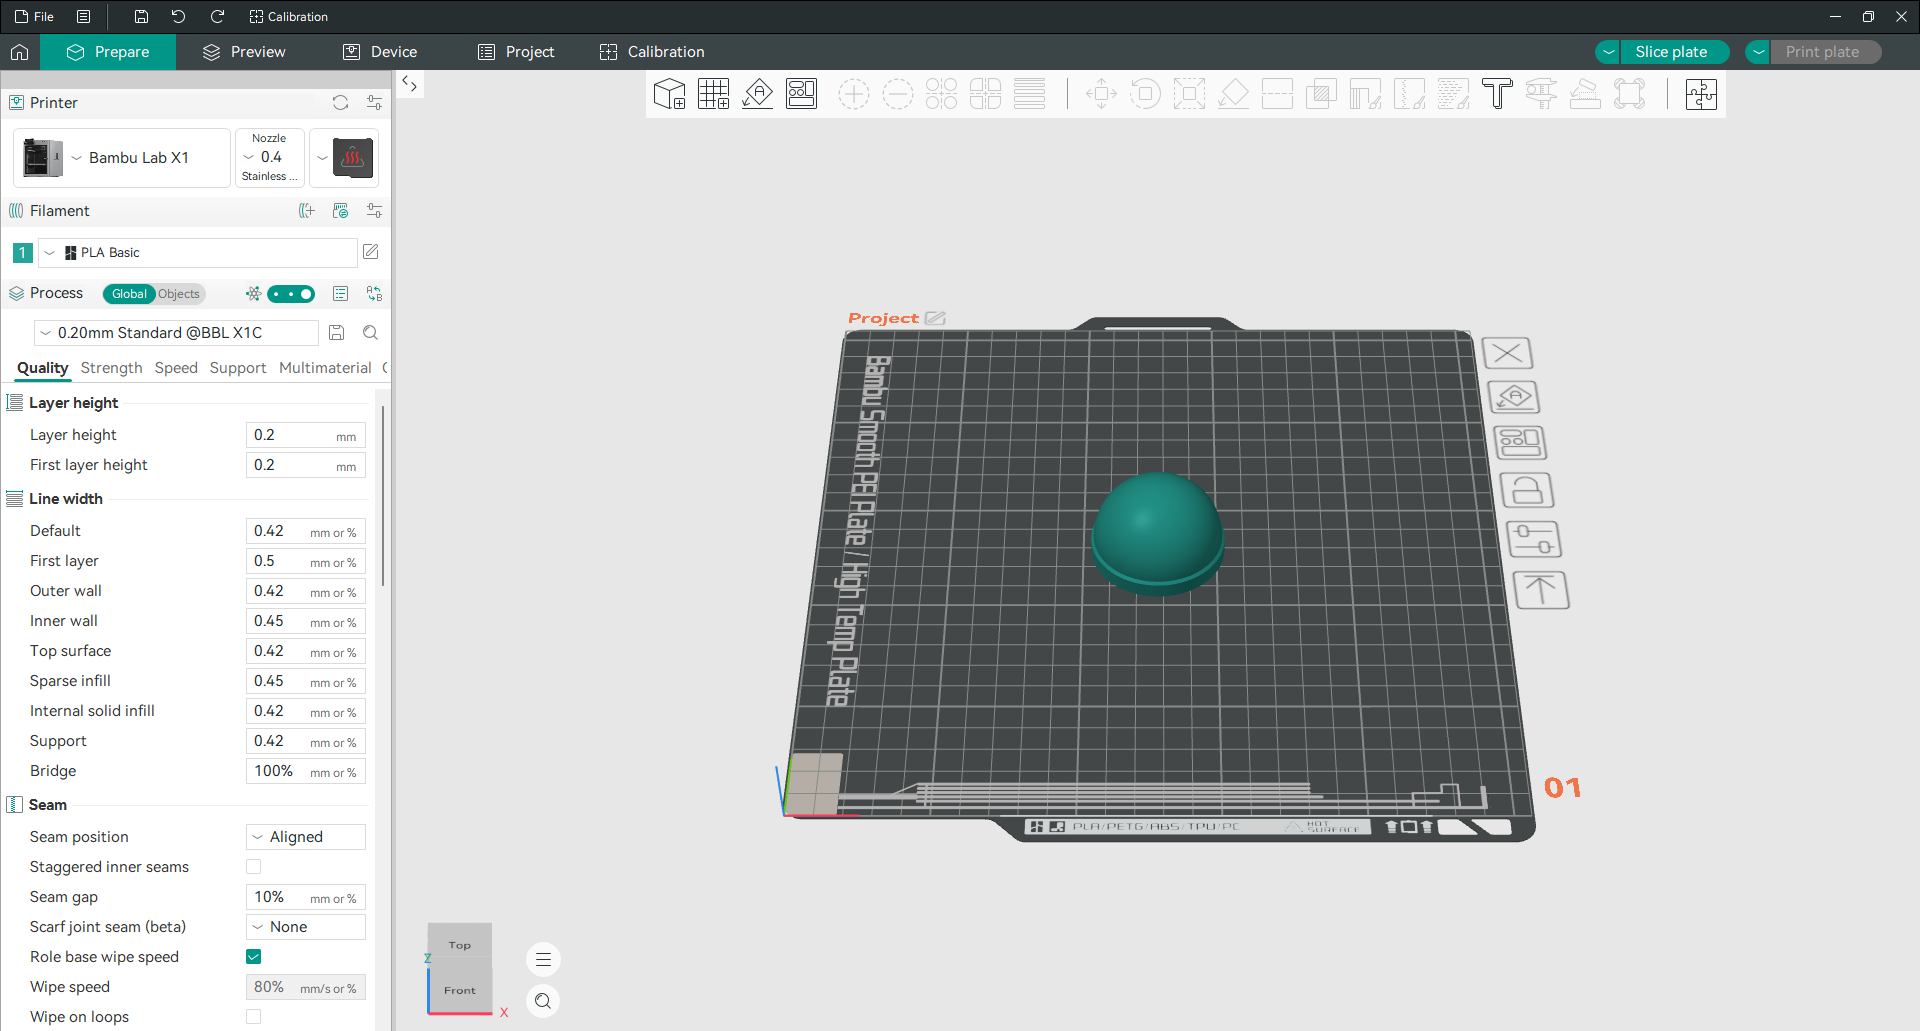
What is Orca Slicer?
It is a free, open source slicing program for FDM 3D printers. It takes a 3D model file and converts it into G-code, which is the instruction language your printer reads: where to move, how fast, how much plastic to push out, and at what temperature.
Without a slicer, a 3D model is just a shape. The slicer is what decides how that shape gets built.
The project was started by SoftFever and is now maintained by a group of contributors. It began as a fork of Bambu Studio, which itself came from PrusaSlicer, which came from Slic3r. That family tree matters, because it means OrcaSlicer inherited years of proven slicing work and then added its own layer on top: a full calibration suite, finer control over walls and seams, and support for a much wider range of printers than the software it forked from.
If you have used any modern slicer before, the layout will feel familiar within a minute. If you have never used one, the setup wizard walks you through it.
What makes it different
Plenty of slicers will turn a model into G-code. These are the parts of OrcaSlicer that people actually switch for.
The calibration suite is built in
This is the single biggest reason people switch. Most slicers expect you to find test models yourself, print them, and interpret the results alone. Here the tests are generated for you, and the software tells you how to read them.
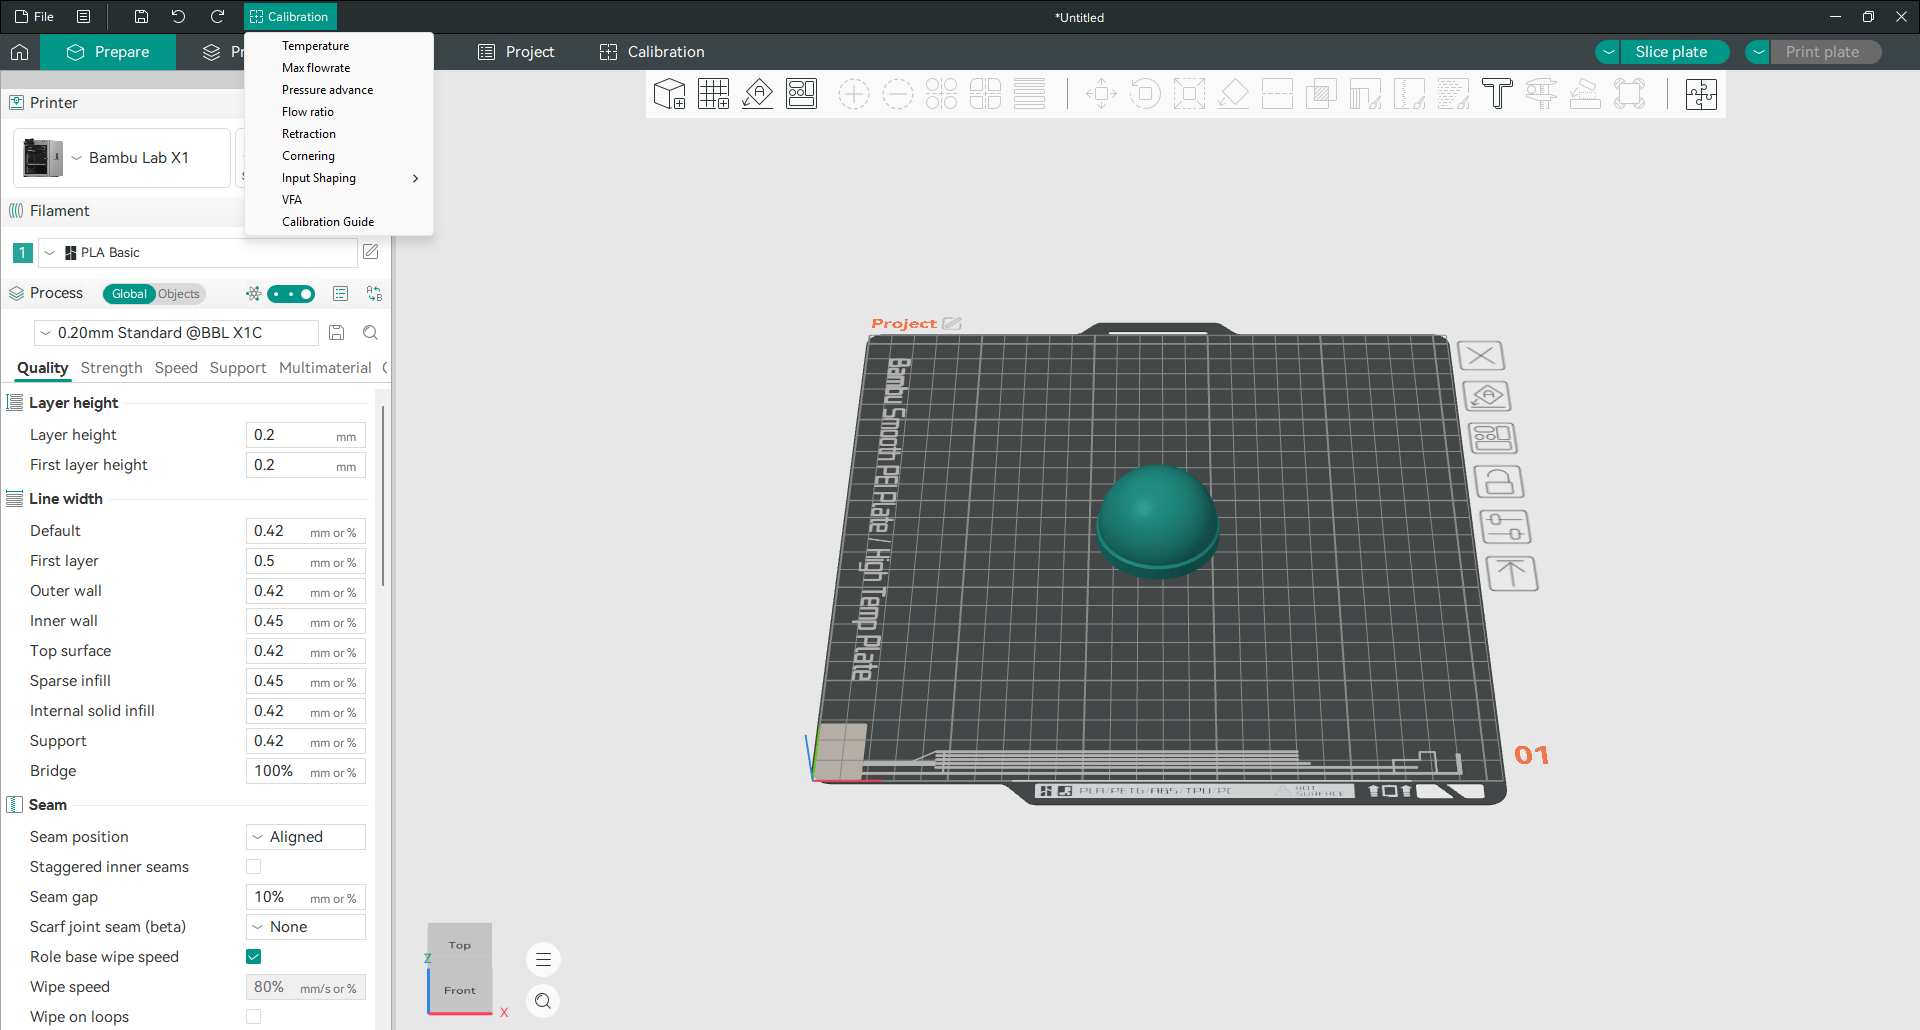
The menu holds tests for temperature, max flowrate, pressure advance, flow ratio, retraction, cornering, input shaping and vertical fine artifacts, plus a guide explaining the order to run them in. Each one targets a specific fault: flow ratio fixes over and under extrusion, pressure advance sharpens corners, retraction stops stringing at the source.
You run the test from the Calibration menu, print it, look at the result, and change one value. That is a fundamentally different experience from guessing.
Start with the calibration guides
Wall and seam control
The outer wall is the part people see and touch. You get more control over it here than in most slicers.
Precise wall improves the spacing between the outer wall and what sits behind it, which removes the slight bulge you sometimes get on corners. The wall generator lets you choose between the Arachne method, which varies line width to fill thin features properly, and the classic method, which keeps every line the same width.
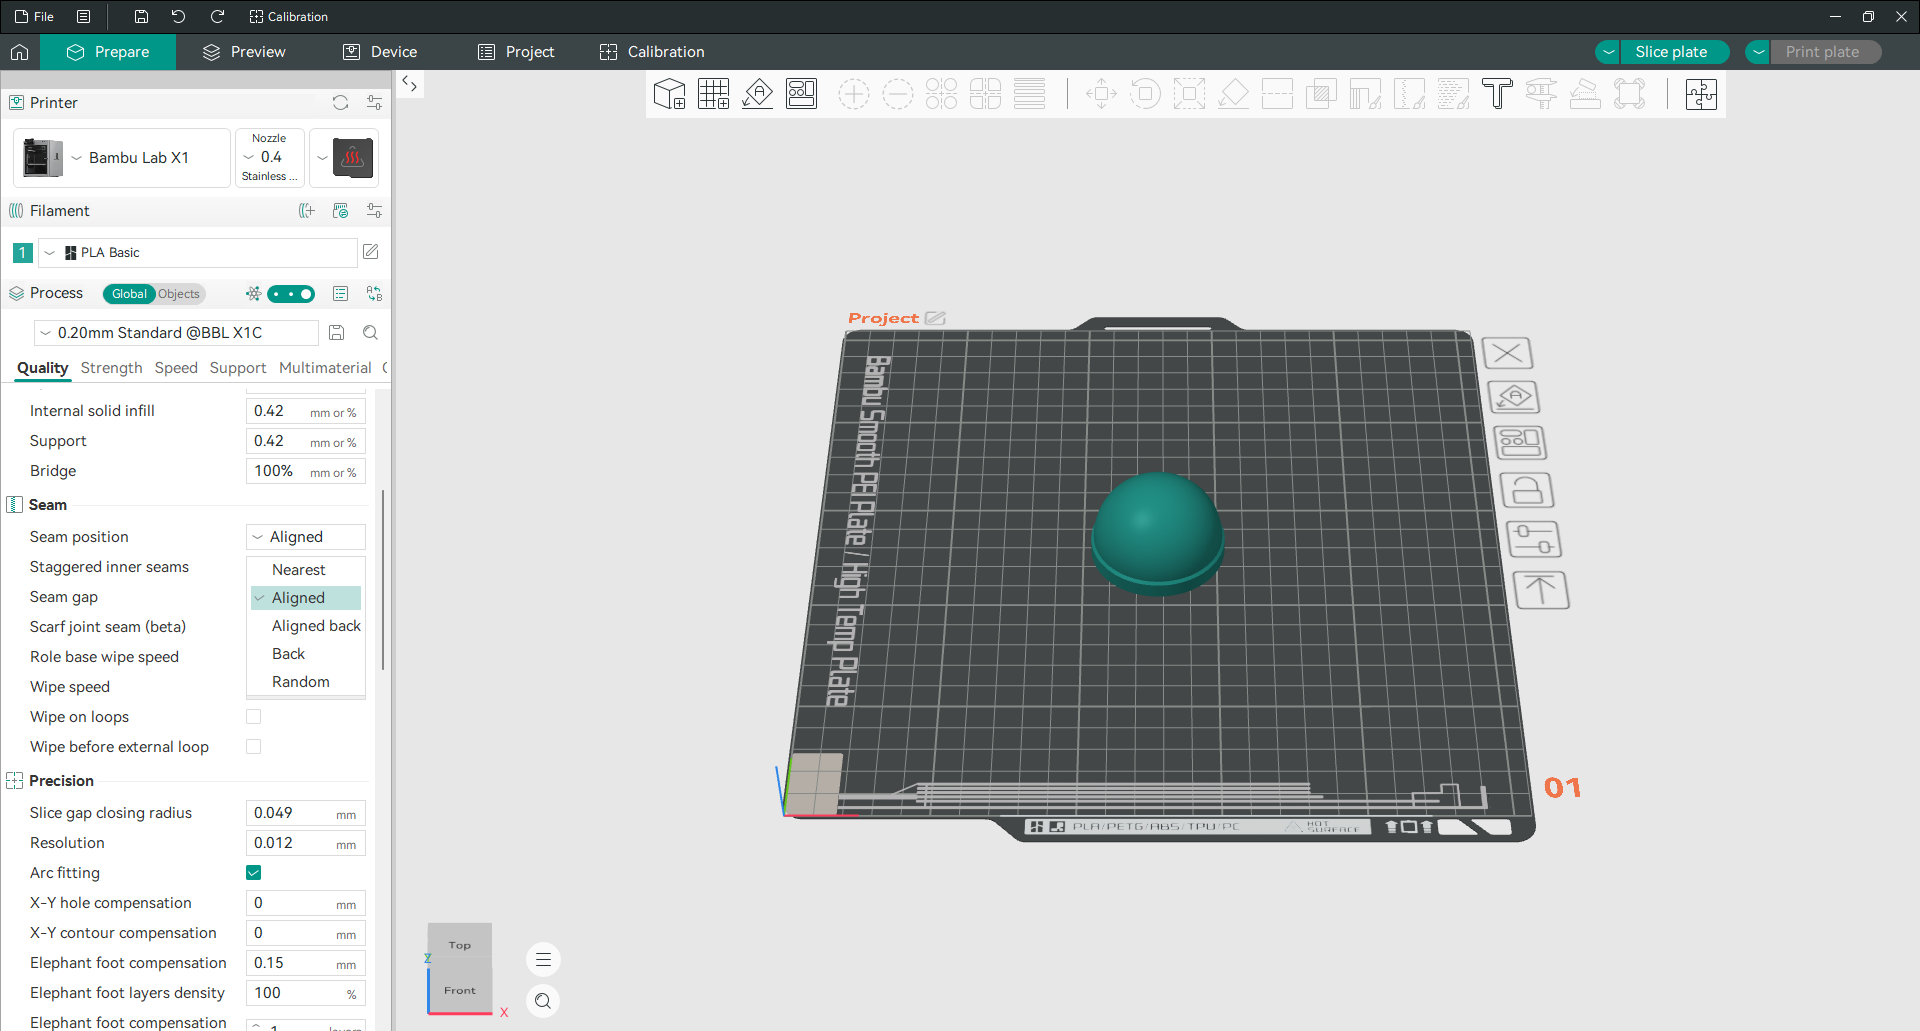
Seam control decides where each layer starts and stops. The seam position dropdown gives you Nearest, Aligned, Aligned back, Back and Random, so you can stack every seam into one straight line, push it round to the back of the model, or scatter it so no single line stands out. You can also paint seams by hand exactly where you want them, and there is a scarf joint option, still marked beta, that fades the seam in and out so it nearly disappears.
Read the seam settings guide · Read the wall generator guide
Z contouring smooths curved surfaces
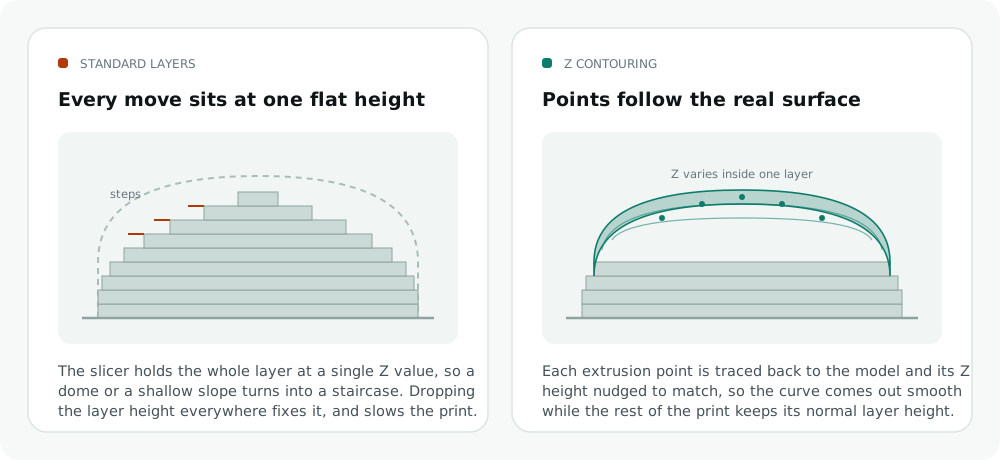
Every FDM print has the same weakness on a dome or a gentle slope: flat layers meeting a curve produce visible steps, like contour lines on a map. The usual answer is to drop the layer height everywhere, which makes the whole print slower for the sake of one surface.
Z contouring, also called Z anti-aliasing or ZAA, attacks it differently. The slicer traces each extrusion point back against the original model surface and adjusts the Z height of individual points, so the toolpath follows the real geometry instead of sitting at one flat height for the whole layer. Domes, chamfers and shallow slopes come out noticeably smoother, and the nominal layer height for the rest of the print does not change.
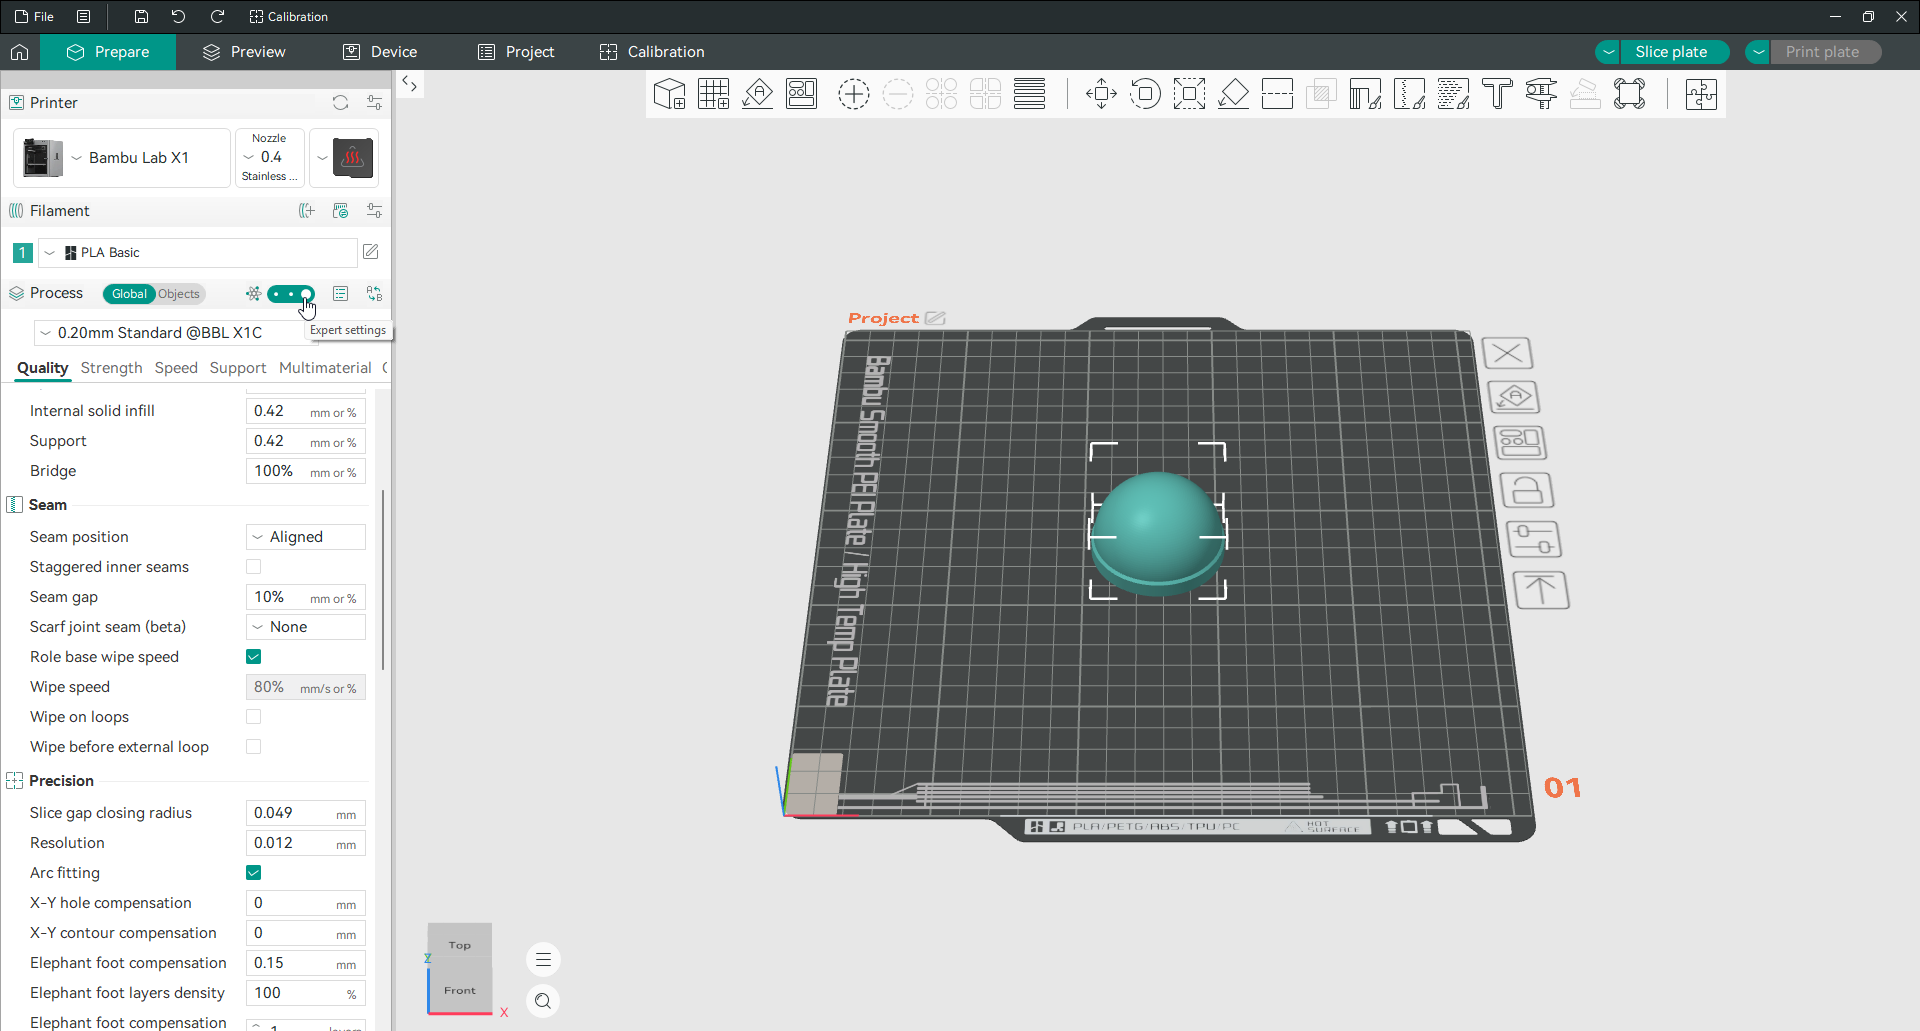
You will find it under Print Settings, Quality, and it needs Expert mode switched on. It currently works on top facing curved and sloped surfaces.
This is worth knowing for another reason. People often search for “non-planar slicing” in OrcaSlicer and find advice telling them to enable a setting by that name. There is no such setting. True non-planar slicing has been requested for years and has not been built. Z contouring is the real feature that solves the problem those people are actually describing.
Infill and surface options that keep improving
Gyroid infill gained an optional “Optimize gyroid wave” mode. It tunes the wave shape per region so each vertical strand resists buckling better under load. It is experimental and off by default, and leaving it off produces exactly the same output as before. It came out of a Brown University research project backed by a NASA Space Grant, working with Elegoo and Polymaker, where the best structures the study found beat ordinary ones by up to 60 percent in compressive strength for their weight. A non-crossing tri-hexagon pattern was also added, which removes the points where infill strands normally cross and rotates each layer by 120 degrees, giving more even strength in both X and Y.
Fuzzy skin picked up a Ripple mode, which produces a controlled repeating texture instead of the old random noise, tuned with ripples per layer, ripple offset and layers between offset. Both modes work on painted areas, so you can texture one face of a model and leave the rest smooth.
Settings that can change per object
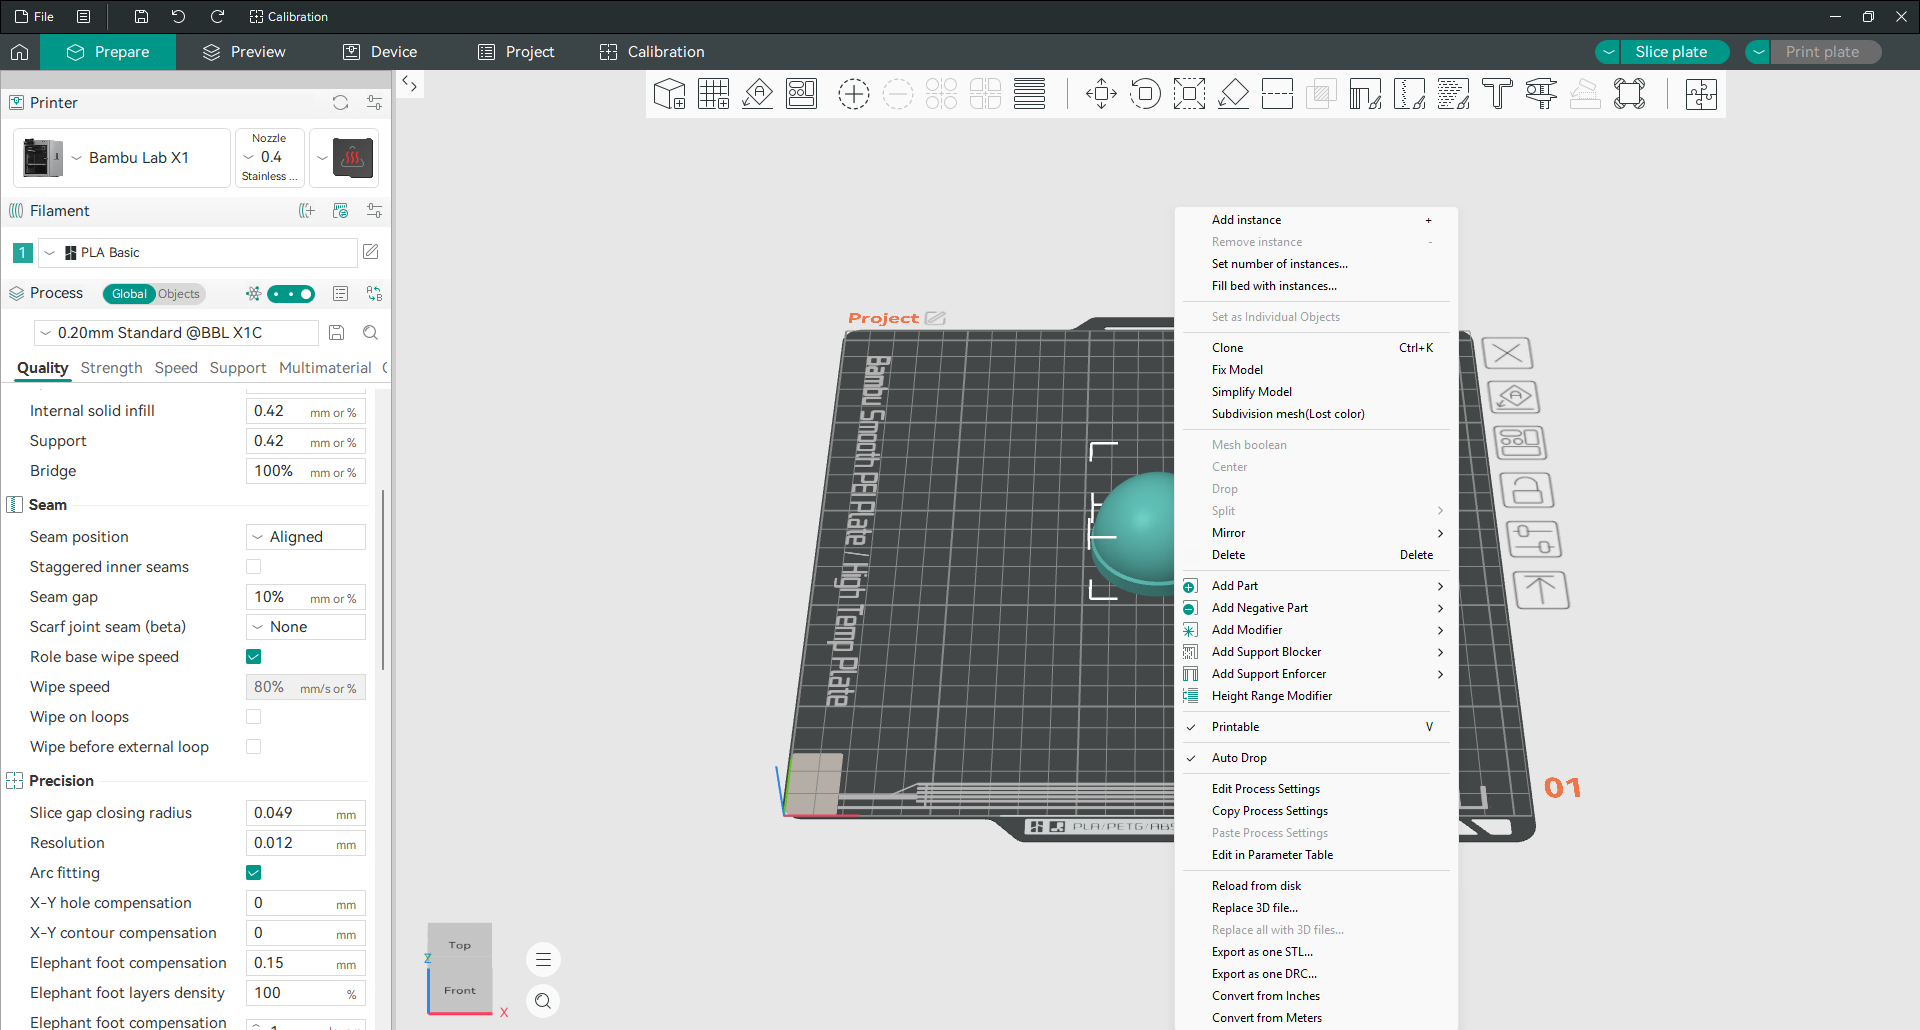
You do not have to slice a whole plate with one set of values. OrcaSlicer lets you override settings for a single object, or even for a region inside an object using a modifier, so a fragile section can print slower or a thick section can get more infill without slowing the rest of the plate.
Adaptive bed mesh
Most printers level the whole bed before every print, which wastes time when your part occupies one small corner. Adaptive bed mesh probes only the area the print actually covers. First layers stay accurate and the wait before printing gets shorter.
Read the adaptive bed mesh guide
Profiles for hundreds of printers
OrcaSlicer ships with tuned profiles for machines from Bambu Lab, Creality, Prusa, Voron, Elegoo, Anycubic, QIDI, Sovol, Artillery, FlashForge, RatRig, Snapmaker and more. If your exact printer is not listed, generic Klipper, Marlin and RepRap profiles will get you running.
Orca Cloud keeps your profiles in sync
Orca Cloud is the project’s own cloud service, and it is the biggest addition the software has had in a long time. It solves a problem anyone with two computers knows well: your carefully tuned profiles only exist on one machine.
Log in and your printer, filament and process profiles sync automatically across every computer you use. There is version history, so a profile you broke last week can be rolled back. There is backup and restore, so a reinstall does not cost you months of tuning.
The part people underestimate is Shared Bundles. Instead of passing a loose preset file around a forum with no context, a bundle groups related printer, filament and process profiles together with a description, compatibility information, images and an update history. You can publish one for the community, keep it private for a few collaborators, or subscribe to somebody else’s and receive their updates. Plugins are distributed the same way.
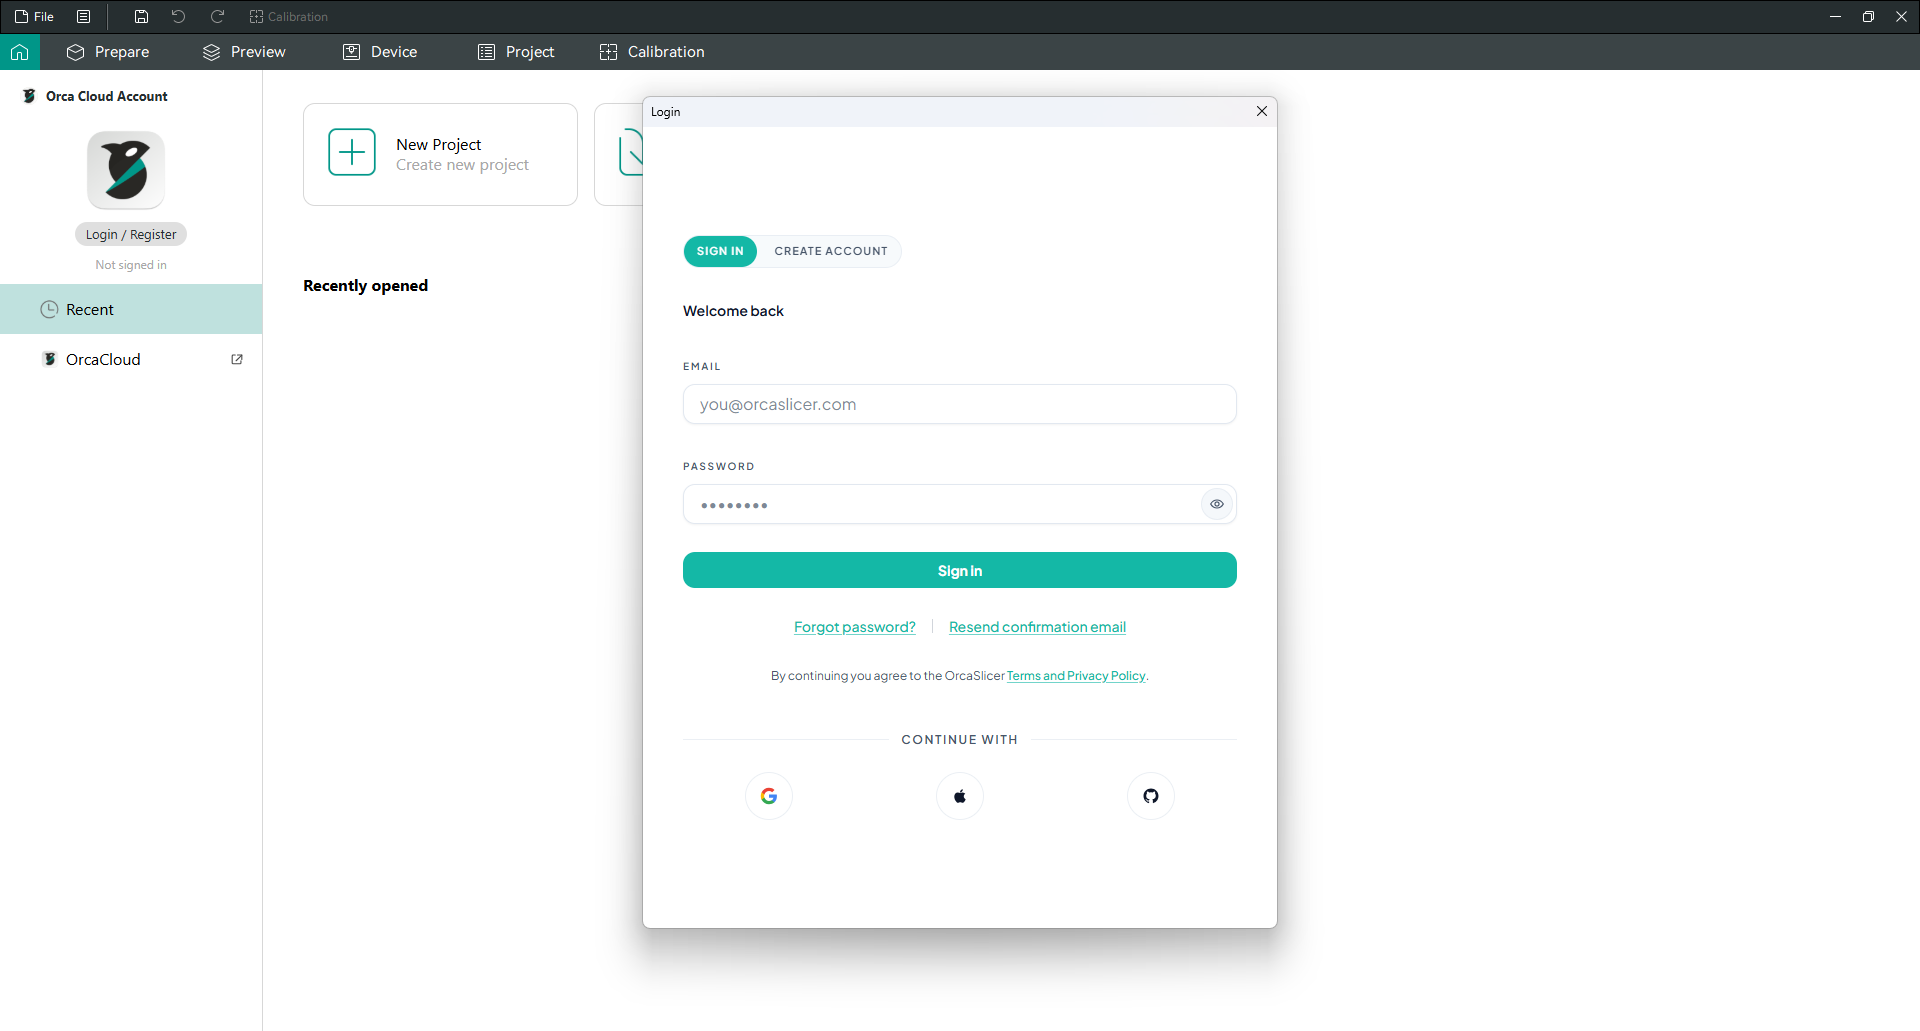
Two things worth being clear about. Orca Cloud is optional. Local profiles and every existing workflow keep working exactly as before, and you never have to log in. And the core features for individual users, including profile sync and profile sharing, are free.
Sending prints over the network
The slicer can send a sliced file straight to your printer instead of walking an SD card across the room. It works with Klipper through Mainsail and Fluidd, with OctoPrint, with PrusaLink, and with Bambu Lab printers directly.
It can also connect to Obico, which is a separate service, not part of the slicer itself. Obico adds remote monitoring, webcam viewing and AI based failure detection. That is worth knowing because the AI detection people talk about comes from Obico, not from the slicer.
Room to go deeper when you want it
The settings you see are controlled by a user mode switch. Simple mode hides almost everything. Advanced mode adds the settings most people eventually need. Expert mode exposes the rest, including Z contouring and the finer Arachne wall parameters, and Developer mode sits above that for people working on the software itself.
That layering matters more than it sounds. A beginner is not buried under two hundred values on day one, and a power user is not locked out of anything.
Recent versions also added Machine Input Shaping, which lets you configure resonance compensation for Marlin, Klipper and RepRapFirmware from inside the slicer to reduce ringing and ghosting at speed, and a Python plugin system for extending the software.
It keeps moving
The project is open source under the AGPL-3.0 licence and developed in public. Anyone can read the code, report a bug, or contribute a fix. Releases arrive regularly, and every change is listed publicly.
Orca Slicer compared with other slicers
Every slicer in this list is capable. The honest differences are narrower than most comparison tables suggest, so here is a version that does not overstate the gaps.
| Orca Slicer | Bambu Studio | PrusaSlicer | Cura | SuperSlicer | |
|---|---|---|---|---|---|
| Price | Free | Free | Free | Free | Free |
| Open source | Yes, AGPL-3.0 | Yes, AGPL-3.0 | Yes, AGPL-3.0 | Yes, LGPLv3 | Yes, AGPL-3.0 |
| Built-in calibration tests | Full suite | Limited | Limited | Via plugins | Some |
| Send prints over network | Klipper, OctoPrint, PrusaLink, Bambu | Bambu printers | PrusaLink, PrusaConnect | Digital Factory, plugins | Via host software |
| Printer brand coverage | Very wide | Focused on Bambu | Focused on Prusa, plus others | Very wide | Wide |
| Per-object and modifier settings | Yes | Yes | Yes | Yes | Yes |
| Learning curve for a beginner | Gentle | Gentle | Moderate | Gentle | Steep |
The short version: if you print on a Bambu machine and want nothing else, Bambu Studio is fine. If you want the calibration tools without hunting for test models, and you want them to work on whatever printer you own, that is where OrcaSlicer pulls ahead.
How to install it
Installation takes a couple of minutes on every platform.
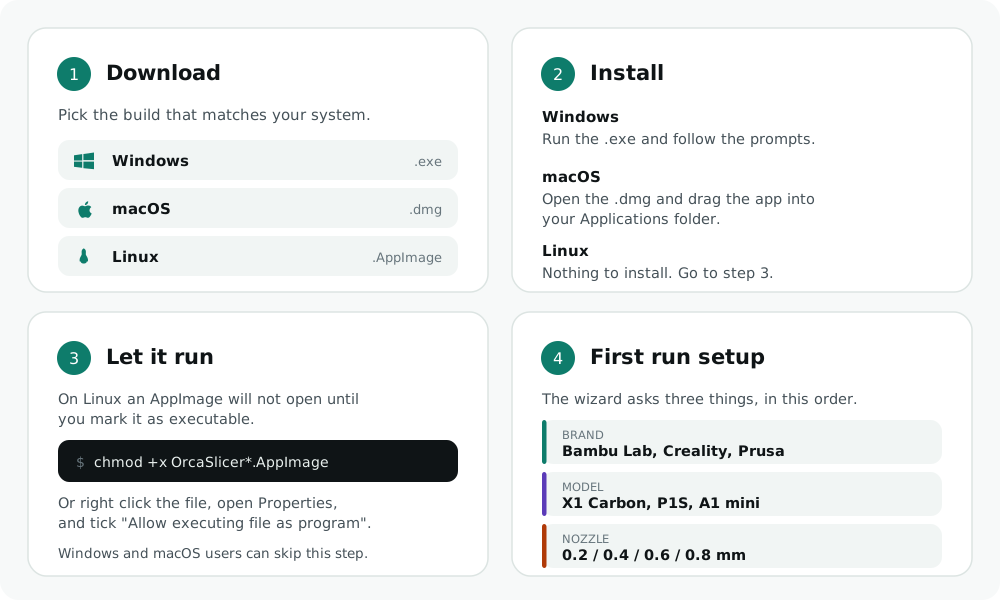
Windows. Run the downloaded .exe file and follow the prompts. If you chose the portable build instead, unzip it anywhere and run the program from that folder. Nothing is written to your system, which makes portable useful for a work machine where you cannot install software.
macOS. Open the .dmg file and drag the app into your Applications folder. The build is universal, so the same file works on both Apple Silicon and Intel Macs.
Linux. Make the .AppImage file executable and run it, or install the Flatpak if you prefer. For the AppImage, either tick “Allow executing file as program” in your file manager’s properties, or run chmod +x on it in a terminal first.
Setting up your printer for the first time
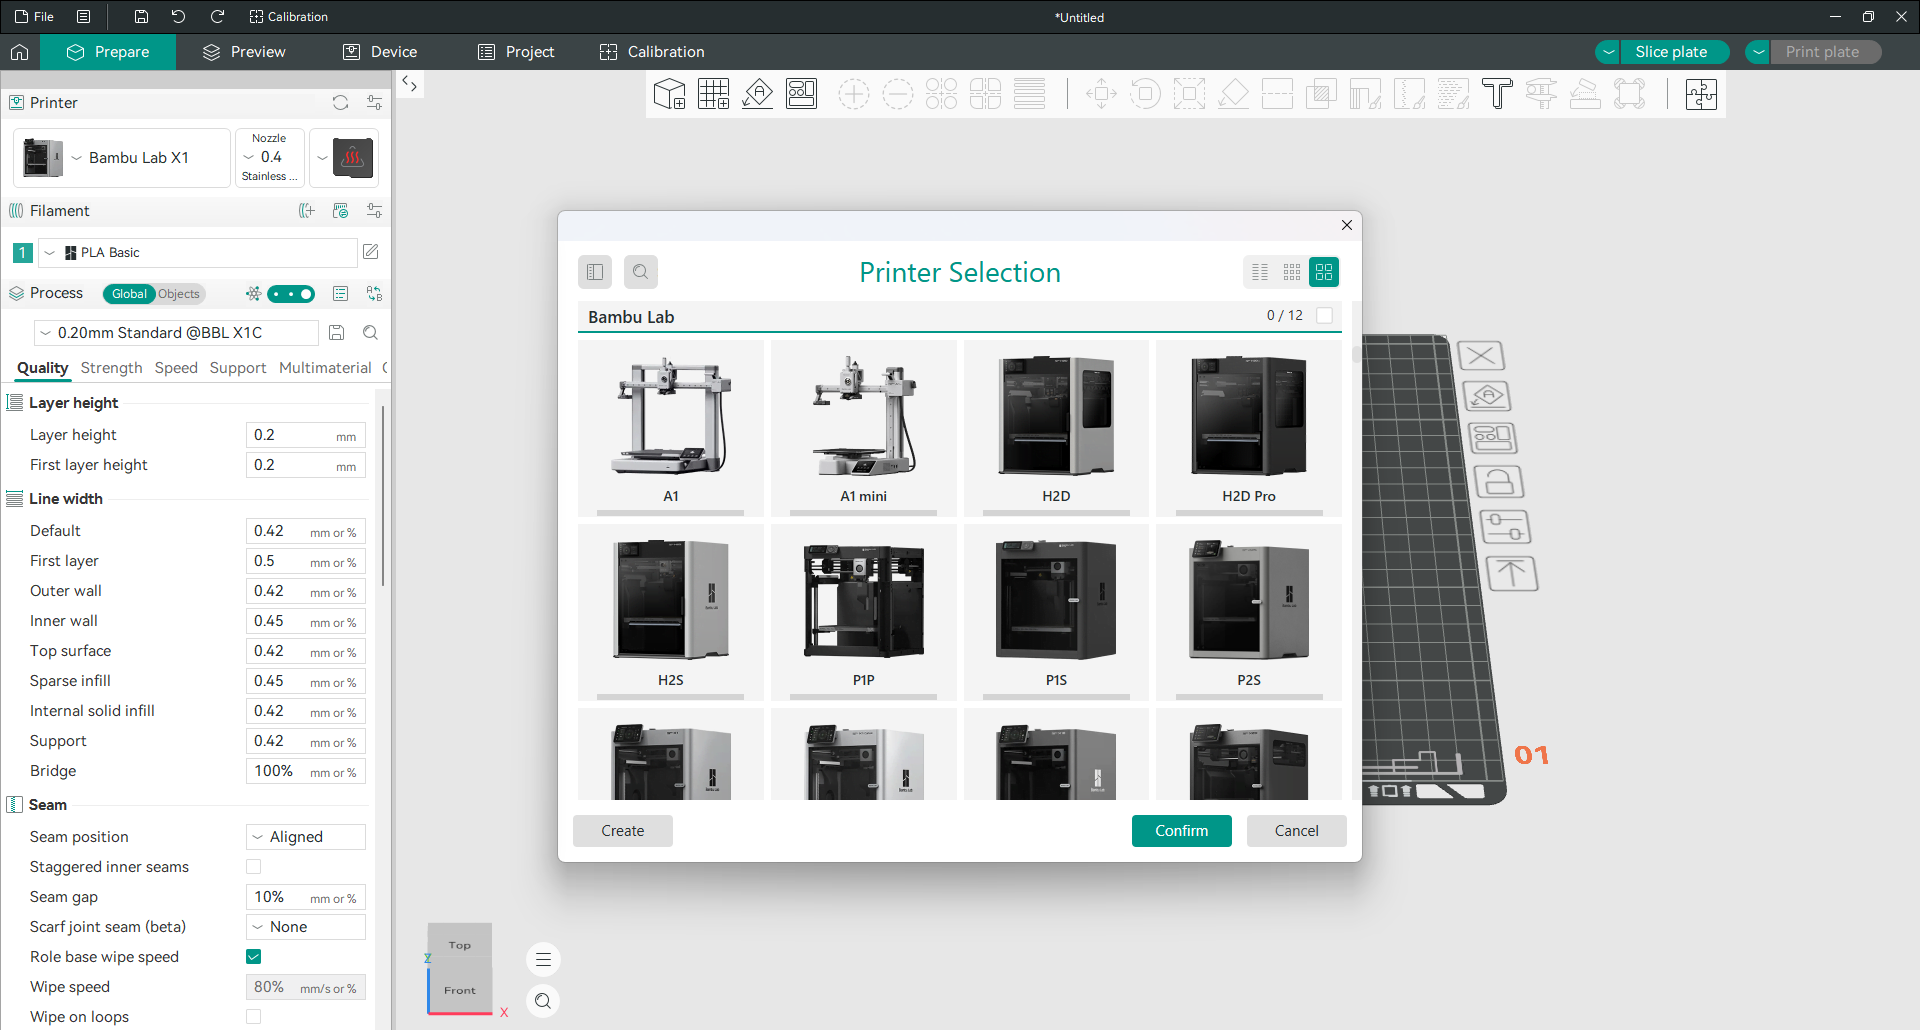
The first time you open the software, a setup wizard appears and asks you to pick your printer. This step confuses people, so it is worth understanding what it is actually asking.
There are three levels to it.
Level one is the brand. Bambu Lab, Creality, Prusa, Voron and so on. Tick the brand you own.
Level two is the model. Under each brand you will see its printers listed, which is why ticking a single brand can produce a long list. Bambu Lab alone covers the X1 Carbon, P1S, P1P, A1, A1 mini, H2D and more.
Level three is the nozzle size. Under each model you choose which nozzle diameters you want profiles for, usually 0.2, 0.4, 0.6 and 0.8 mm. Only tick the ones you own. A “printer” here is really a model plus a nozzle size, which is why your printer appears in the dropdown as something like “Bambu Lab X1 Carbon 0.4 nozzle”.
That last part matters more than it looks. Nozzle size drives your layer height and line width. A common starting point is a layer height between 25 and 75 percent of the nozzle diameter, so 0.2 mm on a 0.4 nozzle, and around 0.3 mm on a 0.6 nozzle. If you swap a nozzle physically and forget to switch profiles, your prints will look wrong and the settings will not be the reason you suspect.
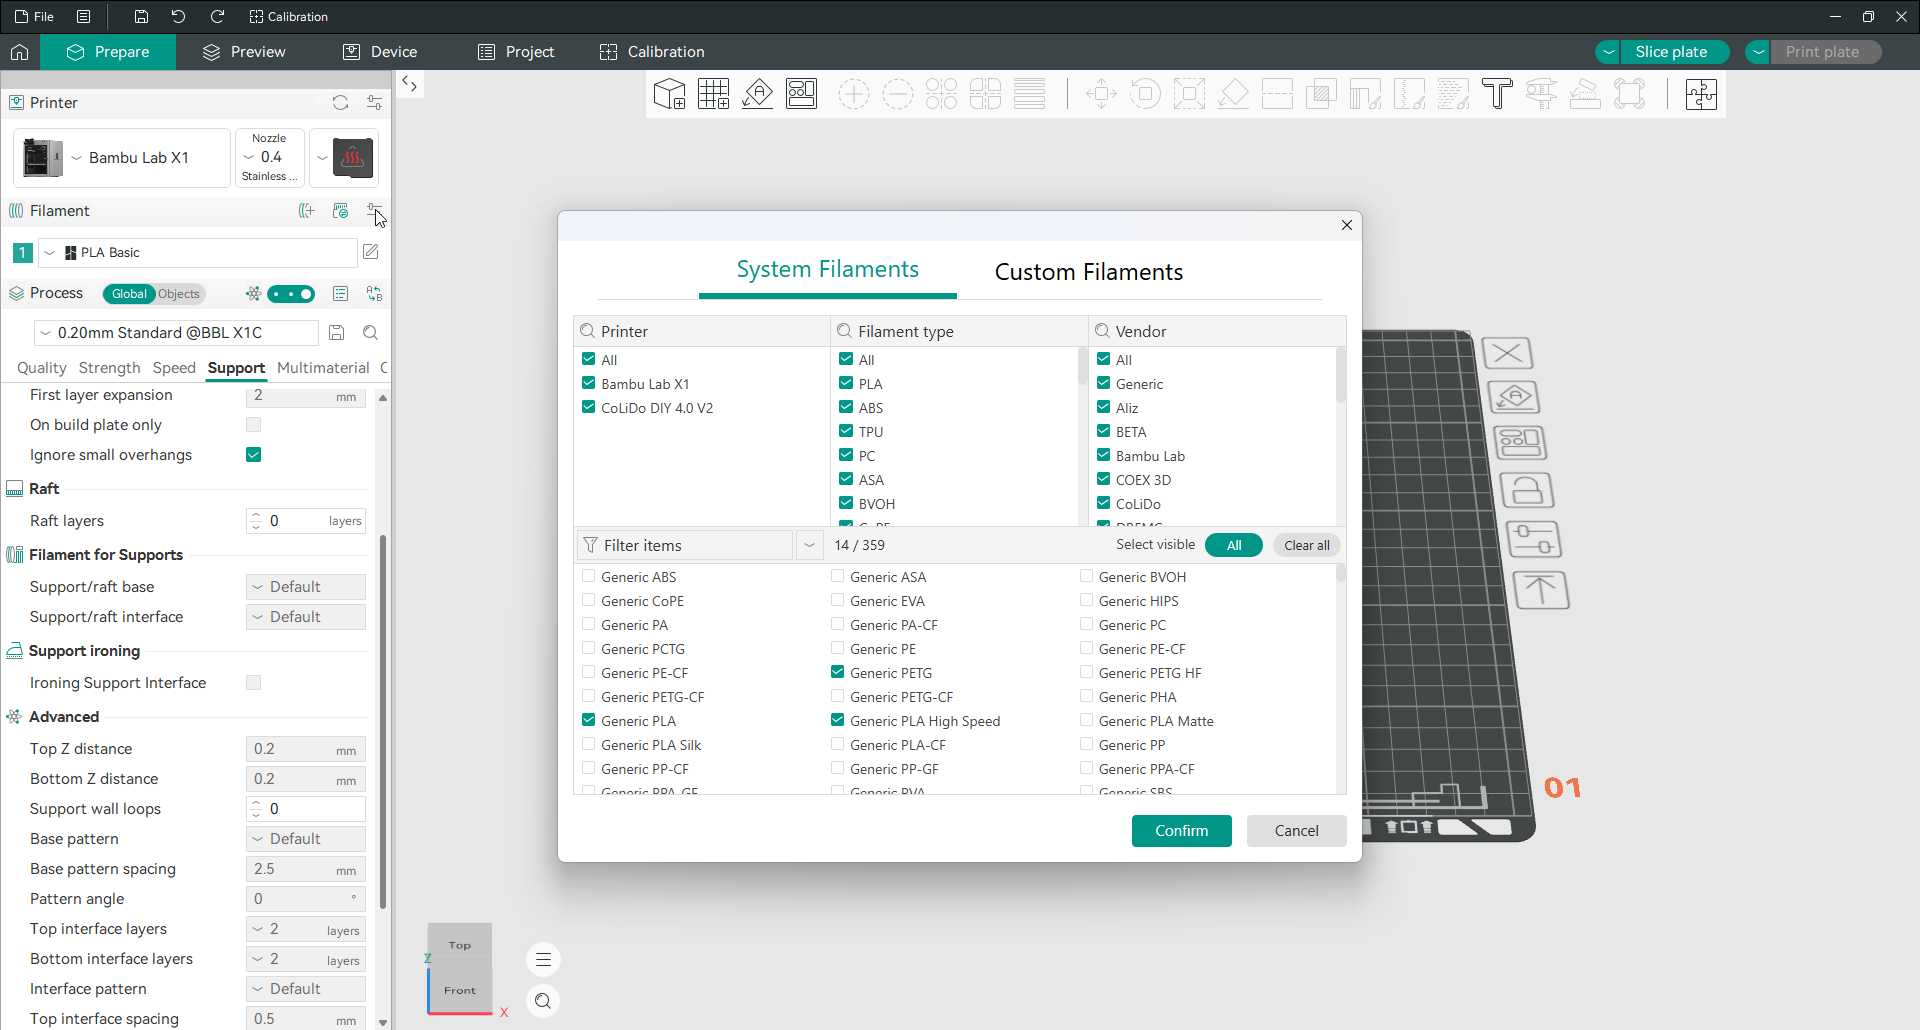
After the printer, the wizard asks about filament. Pick the material you actually have loaded. OrcaSlicer applies sensible temperatures, cooling and flow for that material, and you can adjust any of it later.
Your first print, start to finish
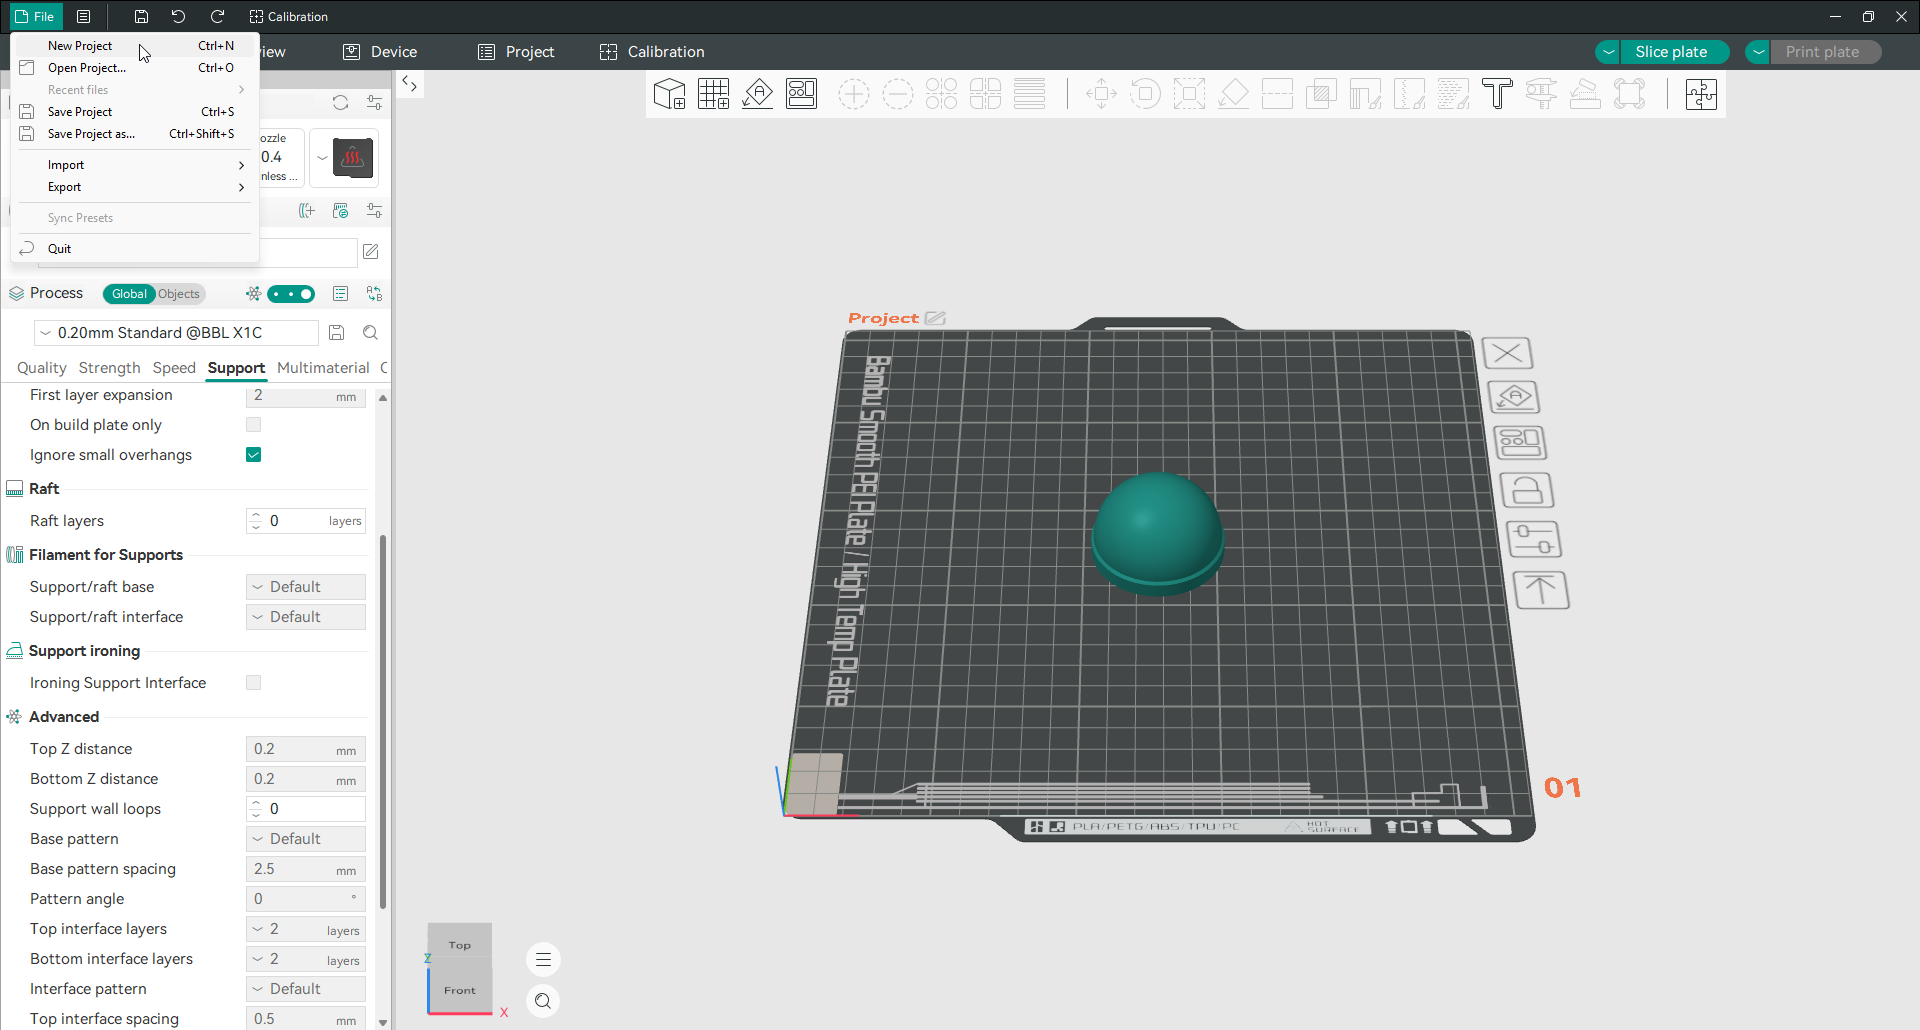
- Start a project. Click New Project, then drag your model file onto the build plate. Move, rotate or scale it as needed.
- Choose a process preset. The process dropdown holds presets like 0.20mm Standard. That one is a reasonable default for most prints on a 0.4 nozzle.
- Check the settings that matter. Layer height, infill and supports cover most decisions. Everything else can stay on the preset until you have a reason to change it.
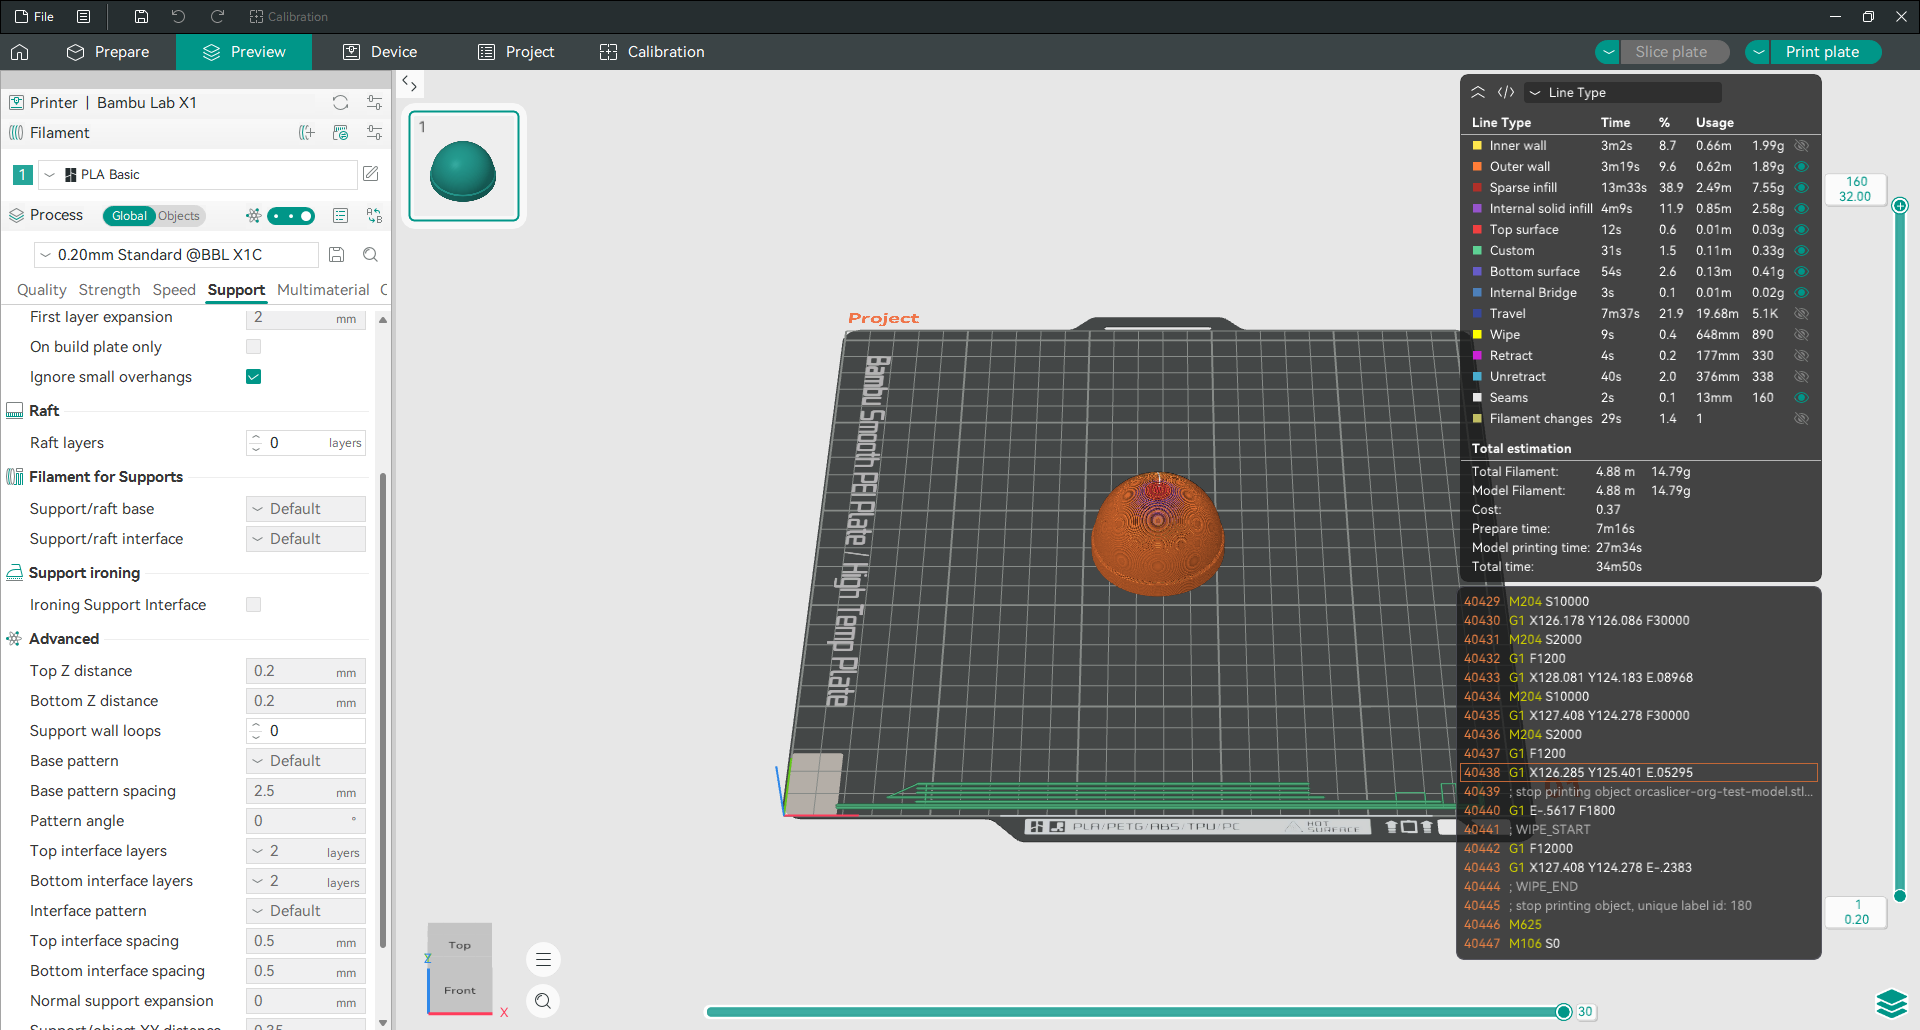
- Slice the plate. Click Slice Plate at the top right. The slicer processes the model and switches to Preview, where you can drag the layer slider and watch the print build up before any plastic is used.
- Read the estimate. Preview also tells you how long the print will take, how much filament it needs in metres and grams, and what that costs. It breaks the time down by feature too, so you can see whether your sparse infill or your outer walls are eating the clock.
- Send it to the printer. Export the G-code to an SD card or USB stick, or send it over the network if your printer is connected.
Where to go next
Downloading the slicer is the easy part. The next hour is usually spent looking at a panel full of values and wondering which one to touch.
That is what the rest of this site is for. Every setting group inside the software has a page explaining what the value does, what changes when you raise or lower it, and where a sensible starting point sits.
- Configuration guide walks through every settings group in the order they appear in the software
- Calibration guides cover the built-in tests and how to read what they print
- Troubleshooting matches the fault on your print to the setting that causes it
- Printers covers setup notes for specific brands and models
- Guide answers the common how-to questions, from editing G-code to adding a pause mid print
Frequently asked questions
Is this the official Orca Slicer website?
No. The software is developed by SoftFever and a community of contributors, and the project publishes its own releases on GitHub. This site is an independent guide with no affiliation to the project. Every file offered here shows its SHA-256 checksum so you can verify it yourself.
Is Orca Slicer free?
Yes, completely. It is free and open source under the AGPL-3.0 licence. There is no paid tier, no trial period, no account requirement and no feature locked behind a subscription. You can read the source code, build it yourself, and modify it.
Is it safe to install?
Yes, and you do not have to take that on trust. The full source code is public, so anyone can inspect exactly what the software does. Every download here shows its SHA-256 checksum. If the checksum of the file you downloaded matches the one printed, the file has not been altered.
Which version should I install?
Install the stable release unless you have a specific reason not to. Nightly builds get new features days or weeks earlier, but they also get new bugs first. If you are in the middle of a print you care about, stable is the right answer.
Will it work with my printer?
Almost certainly. OrcaSlicer ships with preset profiles for hundreds of FDM printers across the major brands, and it supports generic Klipper, Marlin and RepRap machines when a printer is not listed by name. You can also build a custom profile from scratch if your machine is unusual.
Do I need to uninstall my old version first?
No. Installing a new version over the old one keeps your printer, filament and process presets. It is still worth exporting your custom presets before a major upgrade. It takes a few seconds and saves an afternoon if anything goes wrong.
Does it work offline?
Yes. Slicing happens entirely on your own computer and needs no internet connection. You only need to be online to download updates or to use features that talk to a network service, such as sending a job to a printer over the network.
Do I need an account to use Orca Slicer?
No. The slicer works fully offline with no account at all. An Orca Cloud account is only needed if you want your profiles synced between computers, backed up, or shared as bundles. Everything else runs the same whether you log in or not.
Is Orca Cloud free?
Yes for the core features an individual user needs, which today means profile sync, backup, version history and profile sharing. The project has said paid features may appear later for organisations whose needs go beyond that, but that core individual features will stay free. Data is currently hosted in the United States.
Can I run it in a browser?
Not officially. There is no browser version from the project itself, so on a Chromebook or a tablet you cannot install it directly. Some third party services do run OrcaSlicer on their own servers and give you a browser interface, which is a workaround rather than an official product.
What is the difference between Orca Slicer and Bambu Studio?
OrcaSlicer started as a fork of Bambu Studio, so the interface is deliberately similar. The differences are that it supports a far wider range of printer brands, includes a complete calibration test suite, and offers more control over walls, seams and per-object settings. Bambu Studio is tightly focused on Bambu Lab hardware.