


Orca Slicer calibration guide
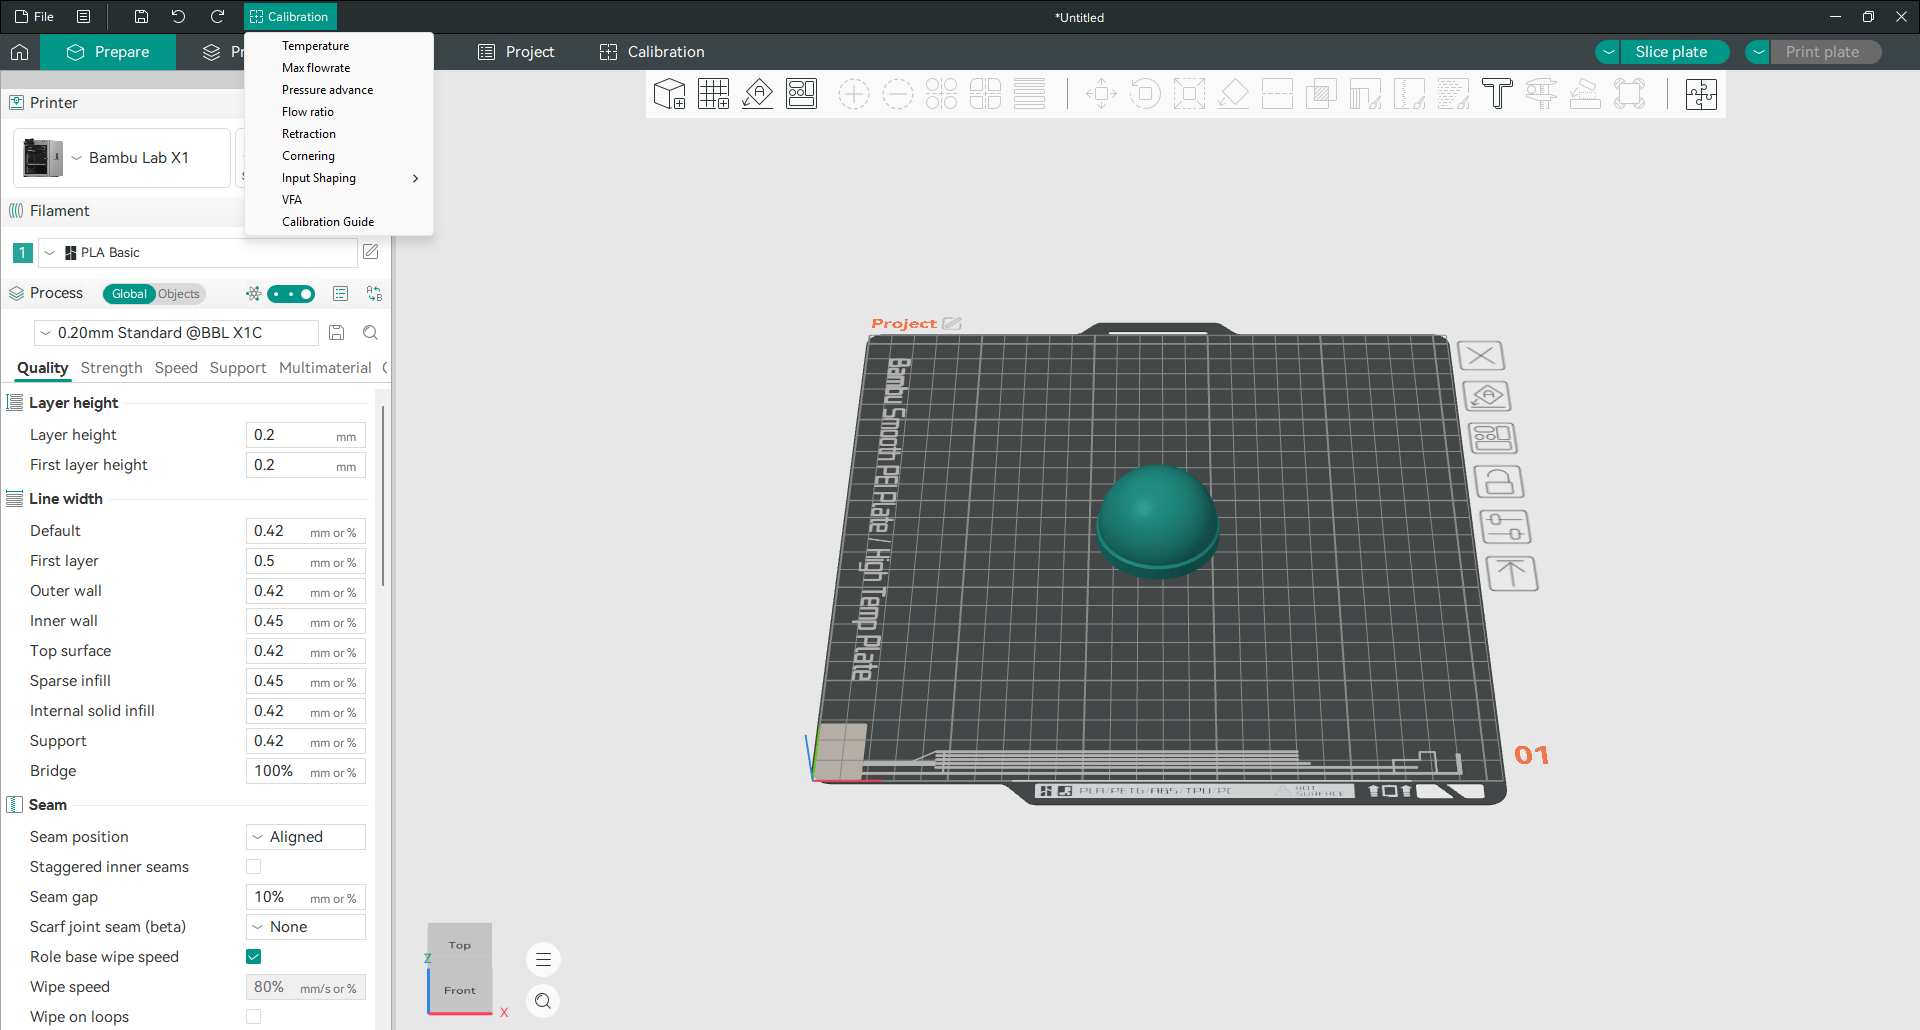
Orca Slicer has a set of calibration tests built into the software, so you do not have to hunt down test models and work out how to read them. Each test prints a purpose-made model, you look at the result, and you enter one value back into your profile. Run them in the right order and you fix the two things that matter most: how much plastic comes out, and how cleanly it starts and stops. The tests live in the Calibration menu at the top of the window, and the values you find are saved per filament, so a tuned profile then applies to every print of that material.
Calibration tests
Orca Slicer flow rate calibration
Calibrate flow rate in Orca Slicer with the YOLO or two-pass test. Print the blocks, pick the smoothest and set the flow ratio for clean surfaces.
Calibration testOrca Slicer pressure advance calibration
Calibrate pressure advance in Orca Slicer with line, pattern and tower tests, the K value formula, plus Klipper and Marlin firmware notes.
Calibration testOrca Slicer retraction calibration
Run Orca Slicer's retraction test to stop stringing. Set the range and step, print the towers and find the shortest clean retraction distance.
Calibration testOrca Slicer temperature tower calibration
Run an Orca Slicer temperature tower to find your filament's best nozzle temperature. Set the range, print the tower and compare each block.
Run them in this order
Order matters, because each test assumes the one before it is already correct. If you tune retraction first and then change the temperature, the retraction value is wrong again and you have to redo it. The order that avoids that is:
- Temperature first, so the plastic melts and flows correctly.
- Flow rate next, so the amount extruded is accurate.
- Pressure advance after that, to sharpen corners at speed.
- Retraction last, to remove stringing once everything else is right.
If you only run two of them, run temperature and flow rate, since those decide whether walls come out the right thickness and top surfaces come out clean.
What each test fixes
Temperature finds the best nozzle heat for the filament, which drives layer strength, surface finish and stringing. Flow rate sets the flow ratio so walls are the right thickness and top surfaces are neither gappy nor over-packed. Pressure advance eases nozzle pressure through speed changes so corners stay sharp instead of bulging. Retraction pulls the filament back before travel moves so it does not ooze strings across open space.
The other tests
Beyond the core four, the Calibration menu holds a few more that are worth running once per filament if you print fast or need parts to fit. Max volumetric speed finds the fastest flow your hotend can melt before it under-extrudes, which matters on high-speed printers. Tolerance tests dimensional accuracy for parts that have to fit together. Cornering, input shaping and vertical fine artifacts tests tune motion and surface quality on capable machines. Each one follows the same pattern: print the model, read the result, save one value.
A habit that saves trouble
After you finish any calibration, start a new project before you slice a real model. That leaves calibration mode, so your next print uses your normal settings rather than the test setup. Because every value is saved per filament, it is worth building up a tuned profile for each material and brand you use, so you only do this once per filament rather than once per print.
Frequently asked questions
What order should I calibrate in Orca Slicer?
Temperature first, then flow rate, then pressure advance, then retraction. Each test assumes the earlier ones are already correct, so this order avoids redoing work. If you run only two, run temperature and flow rate.
Where are the calibration tests in Orca Slicer?
They are in the Calibration menu at the top of the window. Each entry generates a test model for your printer, filament and process. You print it, read the result, and enter the value back into your profile.
Do I calibrate for every filament?
Yes, ideally. Calibration values are saved per filament, and different materials and brands behave differently, so tuning each new spool once builds a library of profiles that print cleanly every time.
Which calibrations matter most?
Temperature and flow rate matter most, because they decide how much plastic comes out and whether it flows correctly. Pressure advance and retraction refine corners and stringing on top of that. Start with the first two and add the others as you need them.